DIY: Dry It Yourself
Zero-waste backcountry dining hacks
Photos by Lori Eanes
Since their introduction in the 1970s, prepackaged backcountry meals have ascended from edible cardboard to haute cuisine. Outdoor stores will hook you up with vegan pad thai or comforting beef stroganoff or cheesecake—just about anything you crave. But all that single-use packaging can add up to a bear canister full of trash, and those meals are often highly processed.
With advance planning and a sense of adventure, creating and packaging your own backcountry meals will minimize your impact. Carlos Davidson, an environmental studies professor at San Francisco State University and an avid backpacker, started preparing his own meals a few years ago after finding a food dehydrator at a yard sale. "I realized I can save a bunch of weight and eat better and have fun with the prep all at the same time," he says. Here's Davidson's advice.
The Basics
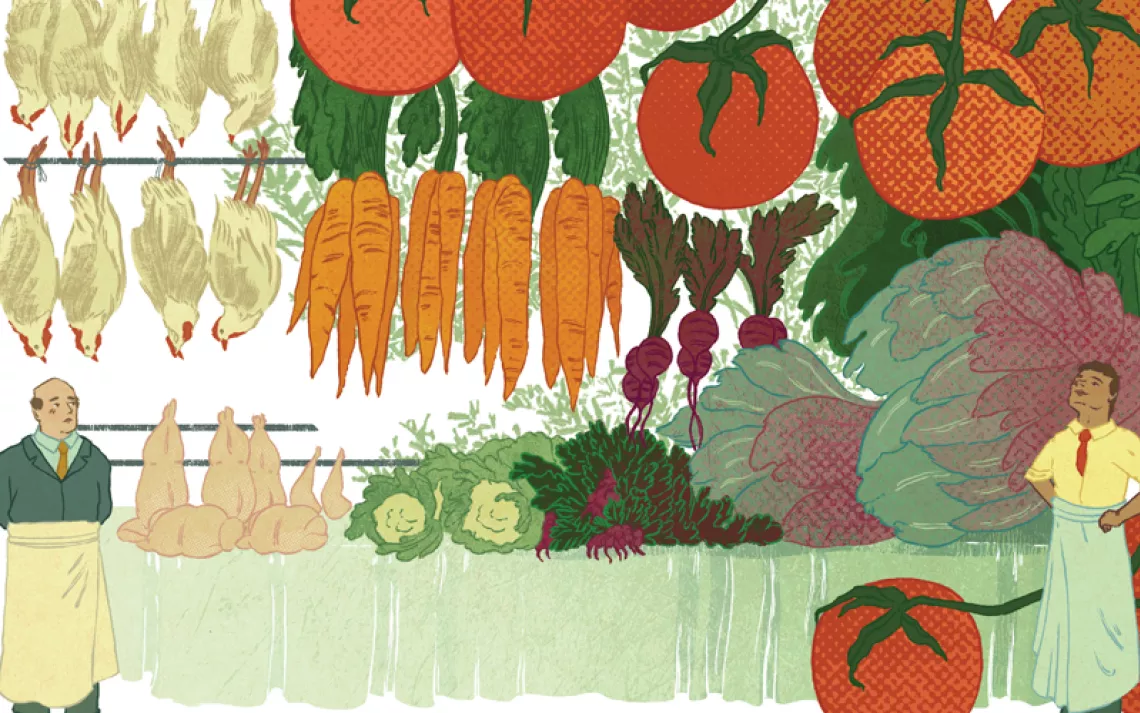
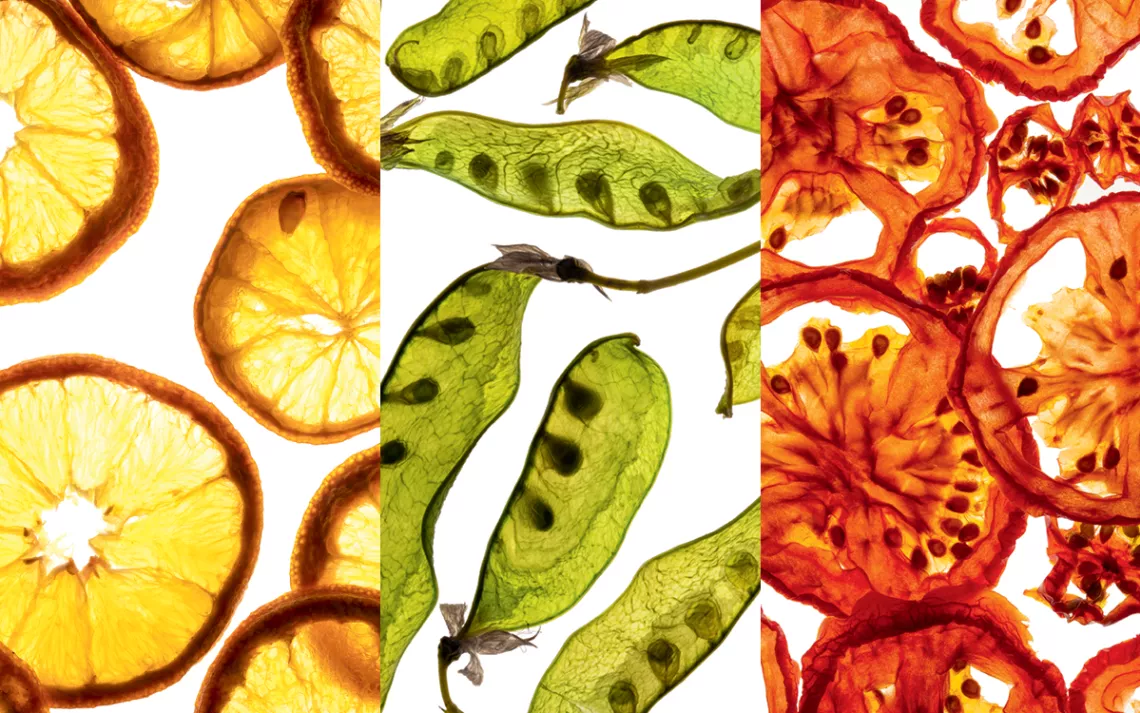
Almost anything except dairy and high-fat items can be dehydrated at home. Prepare individual ingredients to combine into meals later at camp, or make an entire meal at home (soups, stews, and risottos work best, Davidson says) and rehydrate it later. If you're making a soup or a stew, strain off as much liquid as you can. Thinly sliced apples and melons make great trail snacks.
Dehydrating
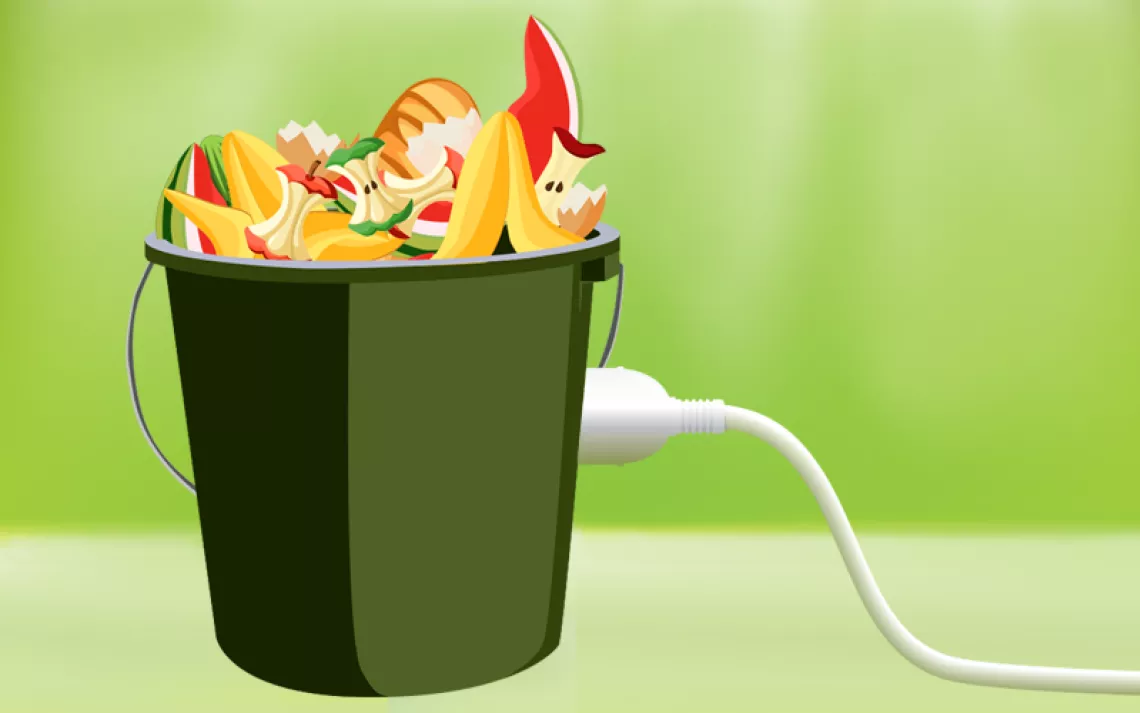
First, you'll need a dehydrator. Check out the Nesco Snackmaster Pro, an affordable and space-efficient option, or the Food Pantrie, a hanging mesh system that dehydrates naturally, sans electricity. (In a pinch, use your oven or toaster oven, though a dehydrator is the most effective and energy-efficient option.) Spread food evenly and thinly on the dehydrating tray or on parchment paper and adjust the temperature and time settings according to the amount of moisture and fat in your food. A temperature of 130°F is a good starting place for most food, but crank it up to 160°F for meat.
"Check the tray every hour or so, and stir the food so it dries more evenly and quickly," Davidson says. You'll end up with a "dry, crumbly material." Soups and stews typically need four to five hours. Sure, this takes more time than simply buying prepackaged meals, but Davidson enjoys the process—it helps him get through the doldrums of the off-season. "You have to plan in advance, and that's actually one of the joys," he says.
Packaging
Opt for reusable food storage bags, which you can pack out and clean at home. For meals that need to be rehydrated in hot water, silicone bags are a great option. They're designed to handle heat and close up with a seal. If you're consuming only one meal on your trip, pour the ingredients into a reusable pot or bowl and rehydrate them at camp.
Most people need between 2,500 and 4,000 calories a day while backpacking. So pack calorie-rich grub that will give you plenty of energy without the bulk, such as nuts, seeds, dried fruit, hard cheeses, and jerky. Beeswax wraps work well for packaging snacks. Bring a range of foods so you don't get sick of eating the same things.
Rehydrating
Make note of how much food you're starting with before straining and dehydrating so you'll know approximately how much water to add back. If you're unsure, aim for equal parts water to food. If you're rehydrating in a bag, stir your food or massage the bag to evenly distribute the water. Rehydration will take about 15 to 20 minutes; it doesn't matter if you start with cold water and then heat up your food or start off with hot water.
More Tips
- Make sure to cut your ingredients into uniform sizes so they will rehydrate at the same rate.
- For recipes with cheese, Davidson suggests leaving it out when you're cooking at home and packing in fresh cheese, then adding it to your reconstituted food at camp.
- To reduce packaging, shop in your grocery store's bulk section.
- Rather than storing food in plastic, bring your own mesh, canvas, or muslin produce bags.
- The aforementioned silicone bags are also a good option for storing, carrying, and reheating entire meals.
This article appeared in the July/August 2020 edition with the headline "DIY: Dry It Yourself."