Make a Playhouse From Cardboard
Convert a large box into the ultimate toy
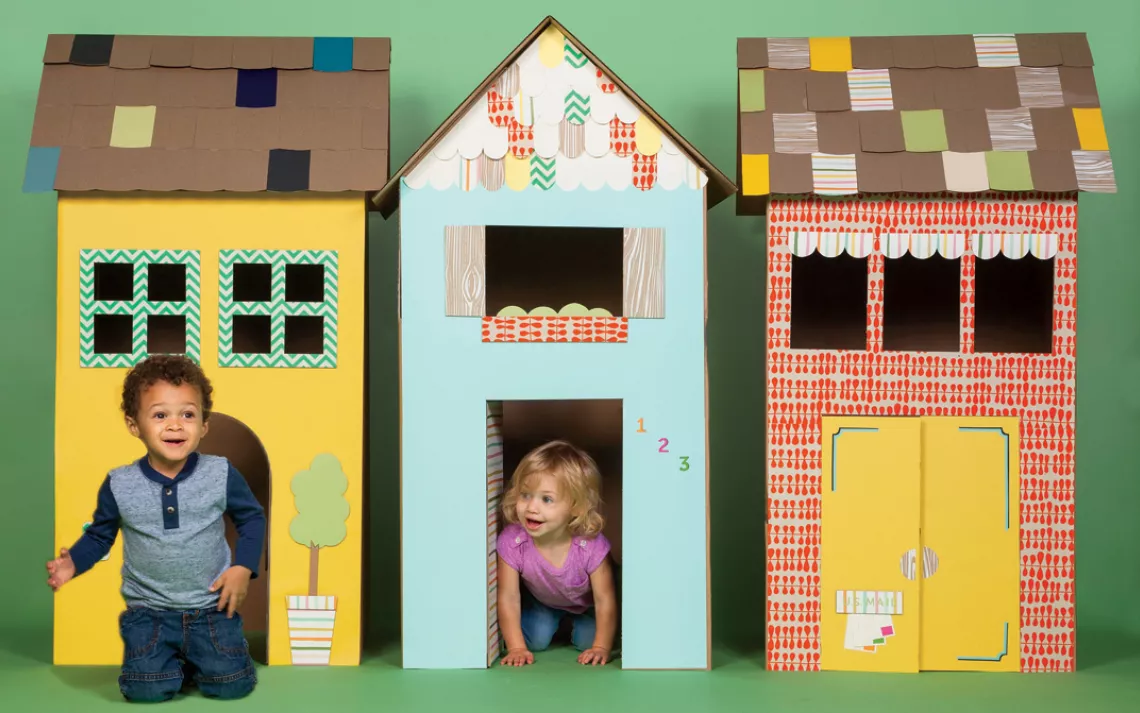
Click through our slideshow to see how you can turn a cardboard box into a playhouse.
Toys have overtaken my family's apartment—the six different versions of Iron Man crammed into the action-figure drawer, the piles of doll clothes and stuffed animals on the floor, the lidless bucket of Perler beads perched on the edge of the coffee table.
Kids need to play, but do they need all the junk we buy them? According to researchers at UCLA, the United States is home to 3.1 percent of the world's children, but Americans buy 40 percent of the world's toys. Most toys contain a complex mix of plastics, making them difficult to recycle when they break. So all these playthings just clutter up our houses and landfills.
Maybe I should follow the example of two German researchers who removed all the toys from a preschool for three months. At first the children wandered around aimlessly, but by the second day, they had made a tent out of tables, chairs, and blankets and were inventing games.
I don't want to purge completely, but I would like my kids to make do with less, or maybe just make more with materials we have on hand. I found some oversize boxes and got out art supplies, and then we spent a Saturday turning them into playhouses. We cut out windows and doors and decorated the walls with some leftover wrapping paper. Now it's playtime.
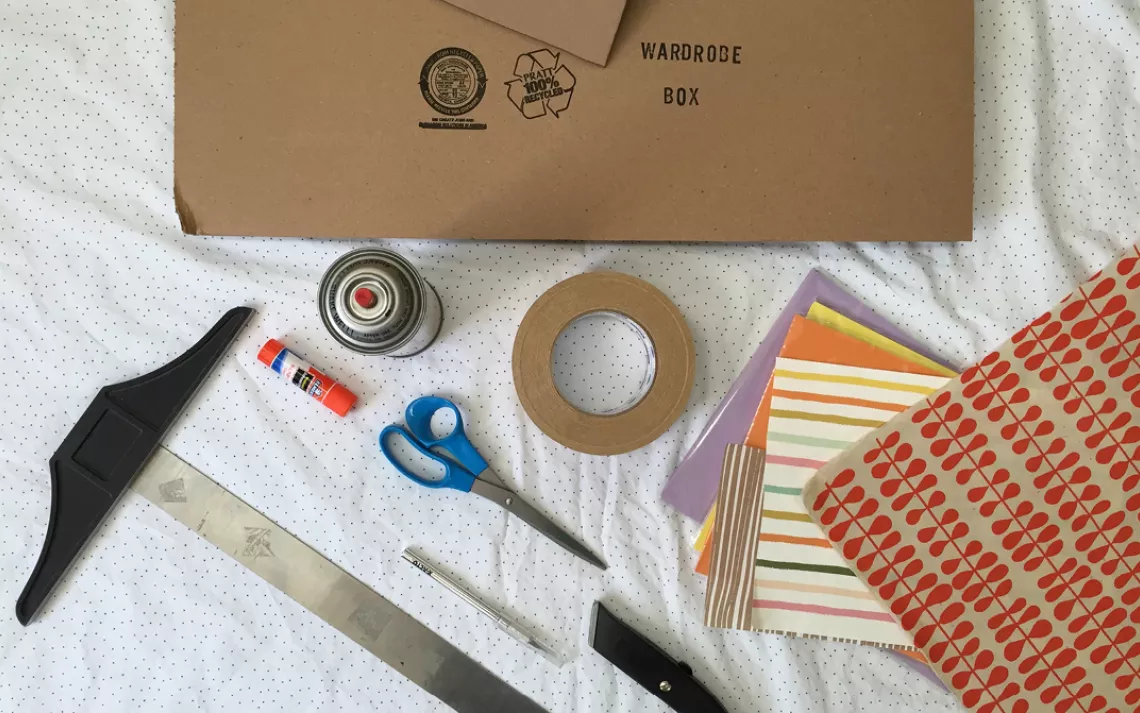
WHAT YOU'LL NEED:
A large cardboard box (a wardrobe or appliance box works well)
Another large piece of cardboard (to serve as the roof)
Nontoxic glue (spray glue is good for attaching paper)
Paper packaging tape
T-square or large ruler
Utility knife
X-Acto knife (for fine detailing)
Scissors
Optional: art supplies (e.g., paints, markers, or crayons)
Scrap paper (e.g., wrapping paper or wallpaper)
Cutting mat
DIFFICULTY LEVEL: 2
CONSTRUCTION TIME: 2 hours
After the fun, fold and store the playhouse. When the kids are done with it for good, toss it in the recycling bin.
Based on a project by Elsie Larson and Emma Chapman at A Beautiful Mess.
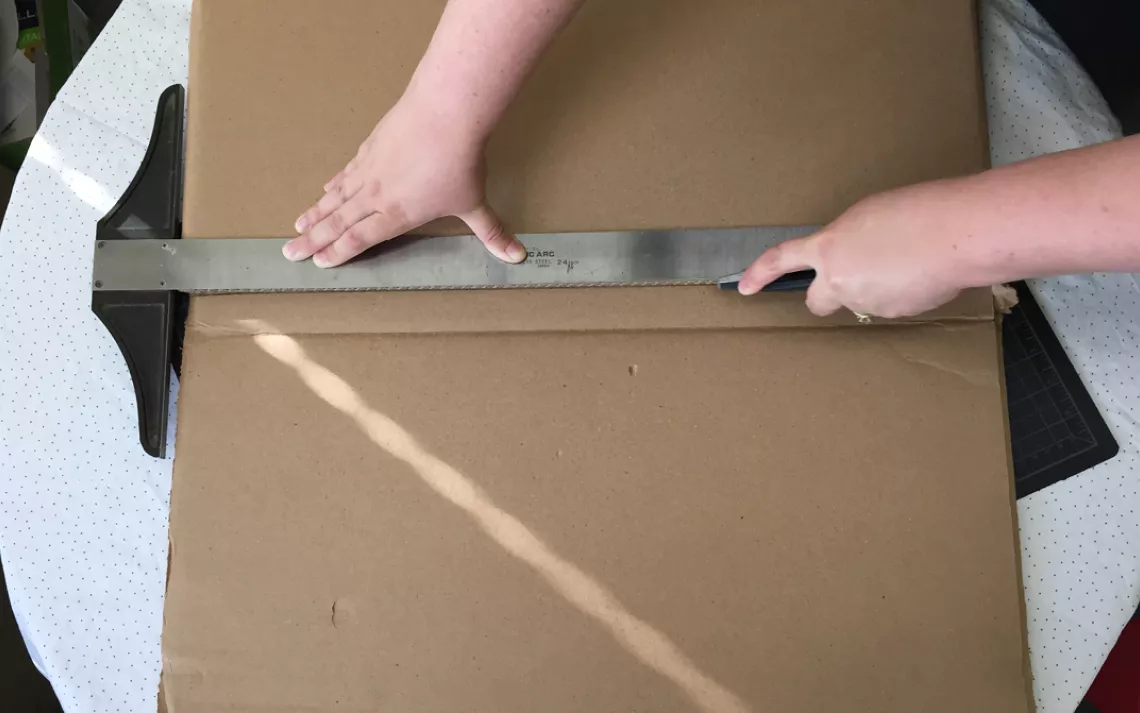
Use the utility knife to cut off the bottom flaps of the box.
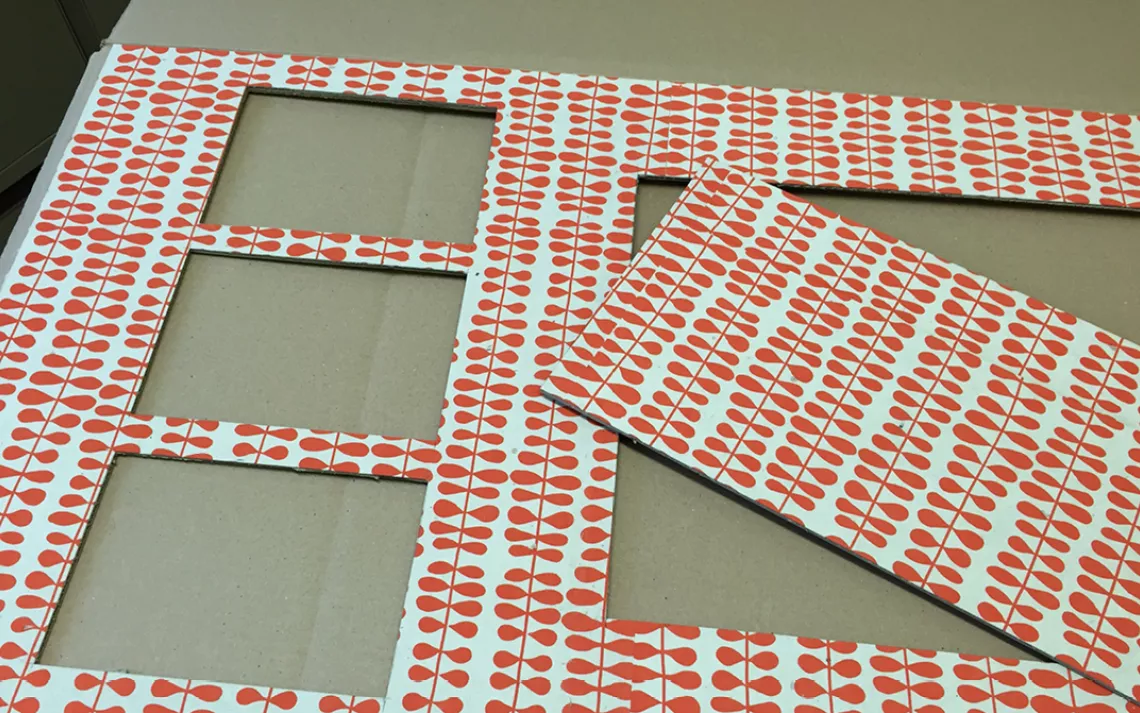
Decorate the box: Paint it and/or cover it with wrapping paper. Then measure and cut out the windows and the door(s). To create a nice hinge, you will need to completely cut out the door(s) and reattach (see step 3). Or, keep it simple and cut only three sides of each door, folding along the remaining side.
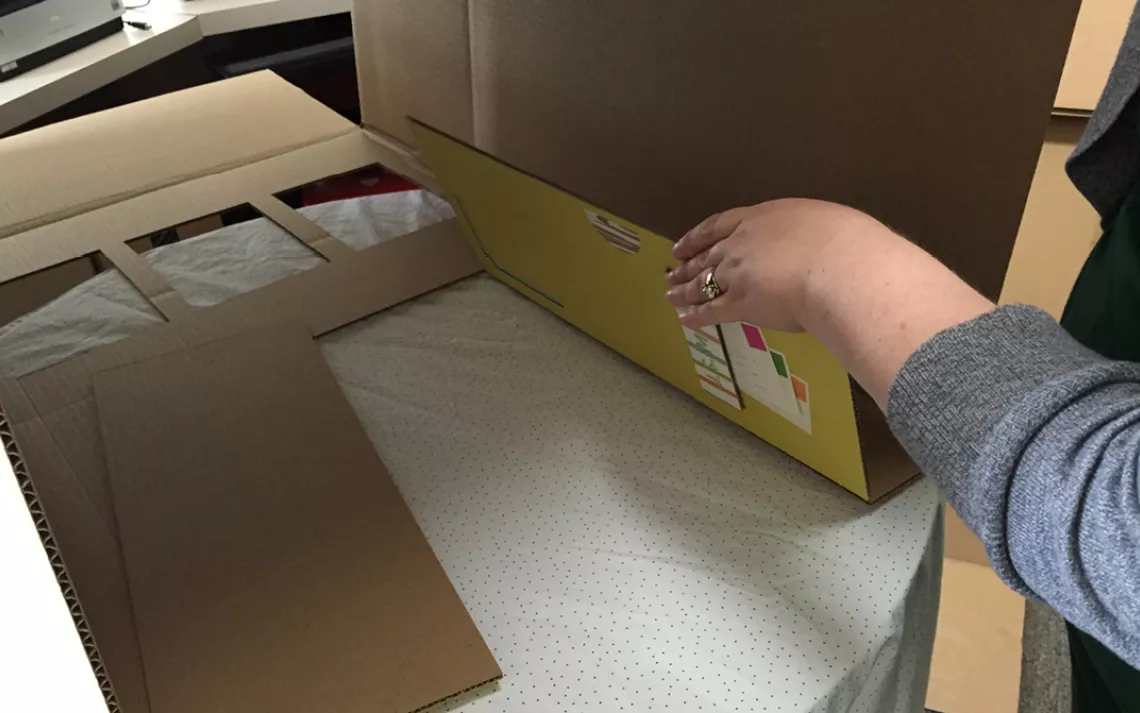
If you have completely cut out the doors, place each door back in its place and tape along one side. The tape will create a nice hinge, and the door will stay open more easily.
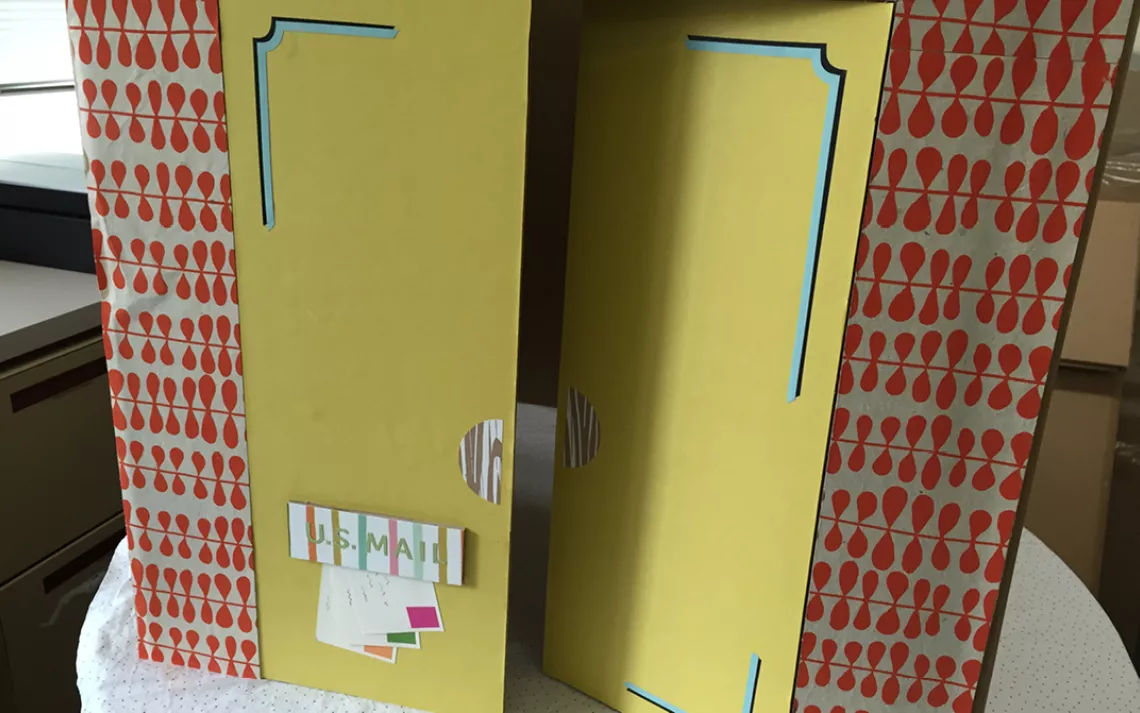
If you haven't yet, decorate the door(s), painting, papering, and adding features like a doorbell or mail slot.
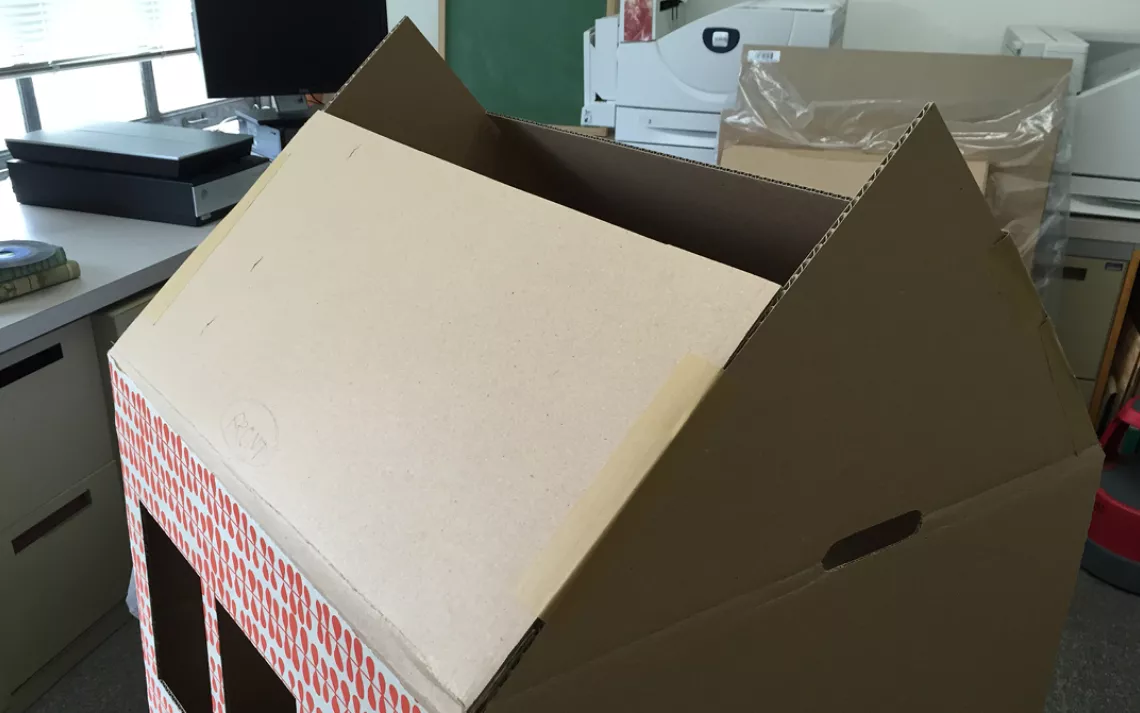
To construct the roof, make the pitch cuts on the top flaps of the box and tape together.
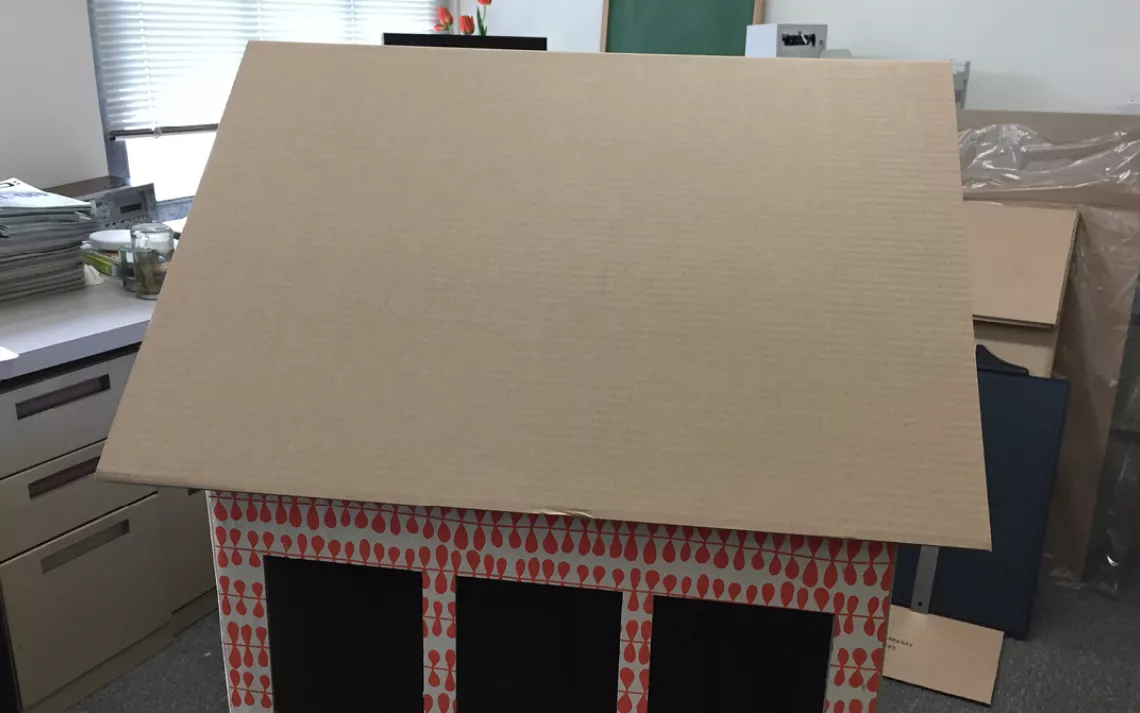
Tape or glue the extra piece of cardboard on top of the front side of the roof.
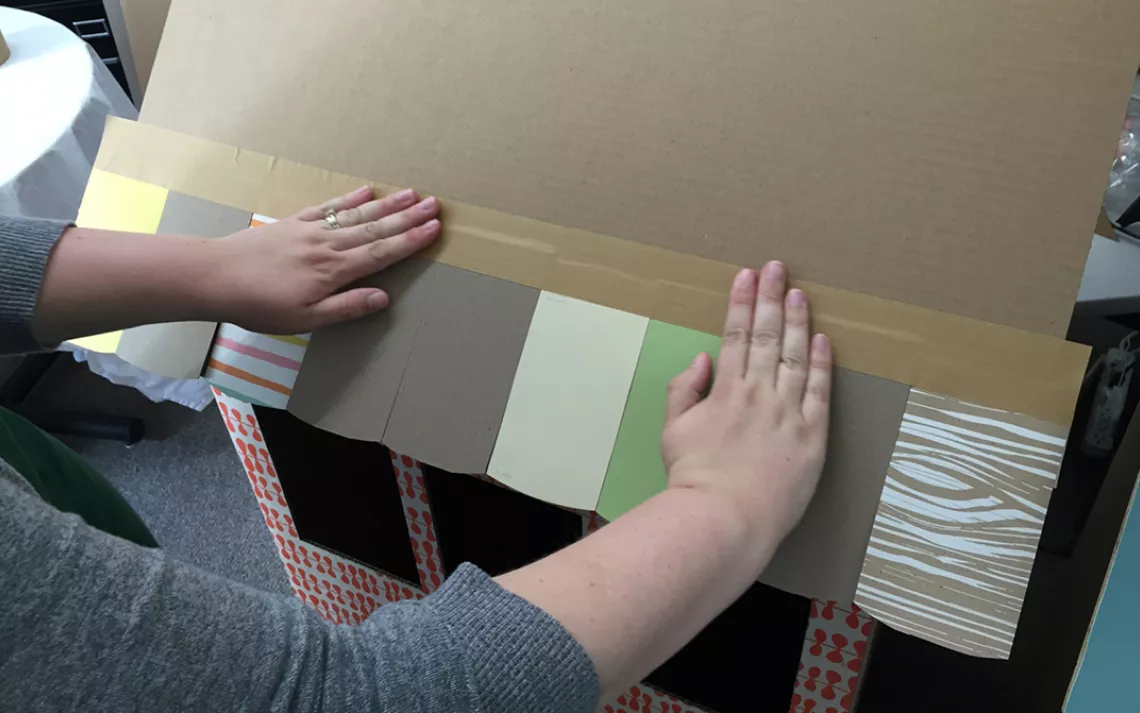
Measure and cut out tiles, and then tape or glue them to the roof.
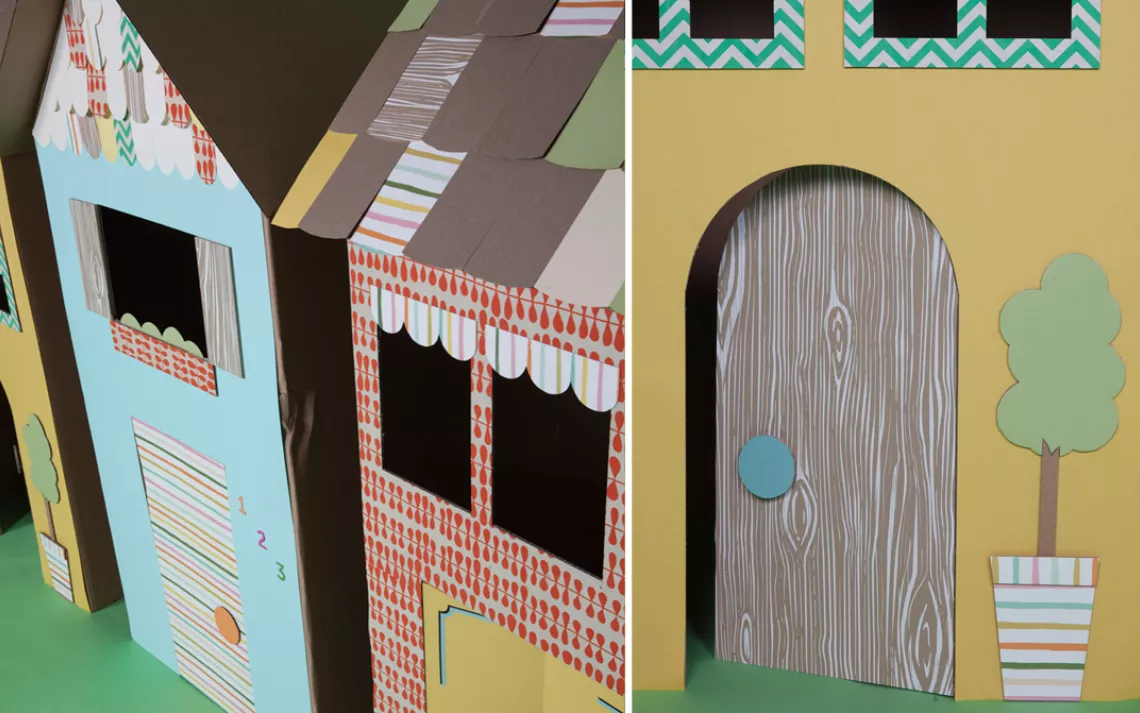
Apply any other decorations (e.g., window panes, plants, or address numbers).

Play house!
Photographs by Lori Eanes
This article appeared as "Cardboard Playhouse" in the November/December 2015 print edition of Sierra.