DIY Natural Olive Oil Soap
Get clean while keeping nasty chemicals out of the environment and away from your skin
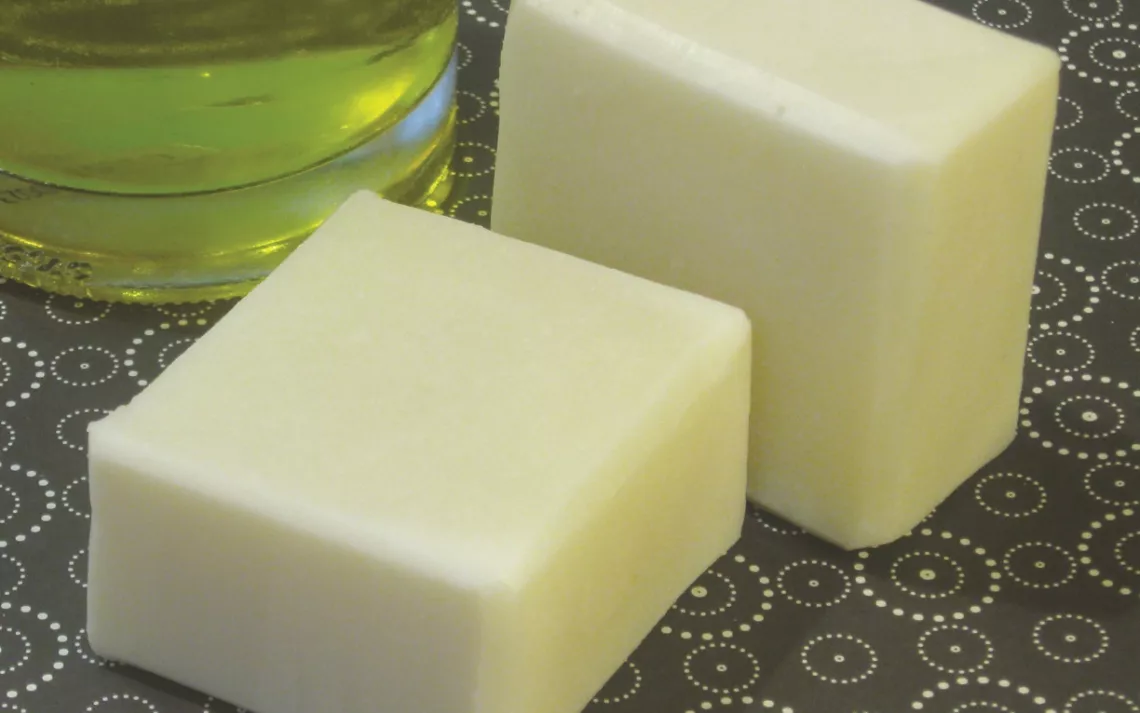
Image courtesy of The Natural Soap Chef.
Heidi Corley Barto started dabbling in soap-making when her younger daughter started to experience skin issues. The Natural Soap Chef is the product of those experiments. Homemade soap allows you to control what goes into your soap, so that you can get clean while keeping nasty chemicals out of the environment and away from your skin. This week, we'll share our favorite recipe from The Natural Soap Chef — just follow the step-by-step directions for make your own eco-soap at home!
Bars should be left in the mold for at least 48 hours. They will need at least 4 to 6 weeks to cure. You can add fragrance to this soap if you wish. Using an online fragrance calculator, select your fragrance and calculate for cold process soap at 20 ounces to determine how much to use.
Ingredients:
Oil
567 grams olive oil
Lye Mixture:
73 grams sodium hydroxide (NaOH)
215 grams distilled water
Directions:
1. Measure the olive oil into your plastic container. Place the container in a larger pot and pour in enough hot tap water that the container begins to float. Set the pot on the stove and turn the heat to warm. Insert a thermometer into the oil.
2. Goggles and gloves on!
3. Measure the water into a heat-safe glass container. Measure the lye crystals into a separate small glass container. Slowly add the lye crystals to the water, stirring with your spatula as you do so. Do not inhale above this container—there will be fumes that can take your breath away! This mixture will heat up quickly. Insert a thermometer into the mixture.
4. Monitor the temperatures of the two containers. Basically, you are heating up the oil while the lye cools down. You want both to reach 110°F. As needed, refresh the hot water bath or turn the stove burner higher to raise the temperature, or use a cold water or ice bath to bring the temperature down.
5. When both the oil and the lye mixture are at 110°F, pour the lye mixture into the plastic container with the oil. Blend until the mixture reaches medium trace (it will be like thick gravy, and drizzled trails will stay on the top).
6. Pour into your chilled mold (or a clean, dry, quart size milk carton with the top cut off) and refrigerate, uncovered, for 30 minutes. Remove from the refrigerator; spray the top with isopropyl alcohol, cover loosely with plastic wrap, and refrigerate overnight.
7. Remove from the refrigerator and let sit at room temperature.
8. Unmold 48 hours after pouring into the mold. Cut into bars and place in your curing area.
Makes 8 3½-oz bars
Lye Safety
Mixing lye with a liquid causes an exothermic chemical reaction. This means that lye will heat up any liquid to which it’s added. A room-temperature liquid can heat up above 200°F with the addition of lye.
Always add the lye crystals to whatever you’re using as your liquid. Never add liquid to your lye crystals! Adding liquid to the lye will cause a volcanic reaction—the surest way to get burned. This is a major no-no in soap making!
Always store your lye container tightly closed in a cool, dry place out of the way of animals and small children.
Saponification (the chemical reaction in the soap-making process) uses up the lye, so that there is no lye left in the finished soap. You need to leave your soap to cure in order to make sure all the lye has reacted, and that you have a sturdy finished bar of soap.
It is a good idea to reserve a few tools for soap making, such as an immersion blender, and any containers you use for lye and mixing your soap. You don't want to contaminate food with lye or fragrance oils (despite how tasty they may smell!).
 The Magazine of The Sierra Club
