Umbrella Tote Bag
Make your own reusable shopping bag out of a broken umbrella

I thought I was pretty good at minimizing my use of plastic. I wrap sandwiches in compostable baggies, grind fresh peanut butter into a glass jar, and buy a bunch of stuff in bulk.
Then I decided to follow the advice of blogger Beth Terry of myplasticfreelife.com and collected all my plastic waste (recyclable and not) for a week. It’s one thing to know theoretically that all those random scraps add up, another to watch the pile growing under the kitchen sink and imagine it floating forever in the Great Pacific Garbage Patch.
Achieving a plastic-free life feels like a Sisyphean task. But it cheers me up to hear about how cities from Austin to Mumbai to Mexico City are banning single-use plastic bags—a global trend that will surely make a dent in the mountains of plastic trash overtaking the planet.
With that in mind, I made my own reusable shopping bag out of a broken umbrella. I snipped the fabric loose from the umbrella spine, folded it, cut out two squares, and then sewed them together along the sides and bottom. I made handles with the leftover material.
The bag is waterproof (of course), light, and easy to stuff into my purse. Now I just have to figure out what to do with that pile under the sink.
DIFFICULTY LEVEL: 4 | CONSTRUCTION TIME: 1 TO 2 HOURS
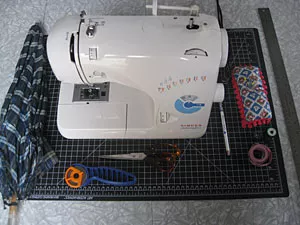
You need some basic sewing skills.
Based on a project by Joanne Wong at instructables.com.
What You'll Need:
- Umbrella
- Sewing scissors
- Pins
- Yardstick or tape measure
- Chalk
- Cutting mat
- Sewing machine
- Thread
- Cutting wheel (optional)
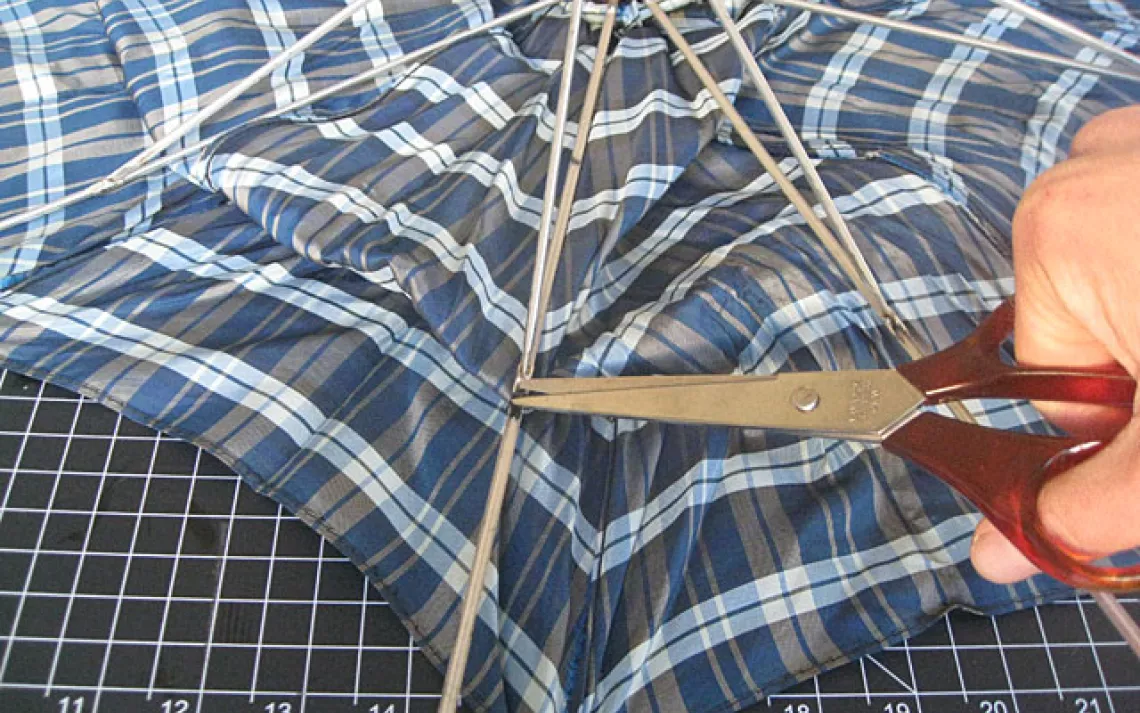
Step 1: Carefully snip the umbrella fabric free from the skeleton of the umbrella. Unscrew the button at the top of the umbrella and lift the fabric away.
Step 2: If the fabric is heavily creased, place it under a bedsheet and iron it (the nylon is too delicate to withstand the heat directly).

Step 3: Turn the umbrella fabric inside out. Fold it in half and pin the two sides together along the edge.
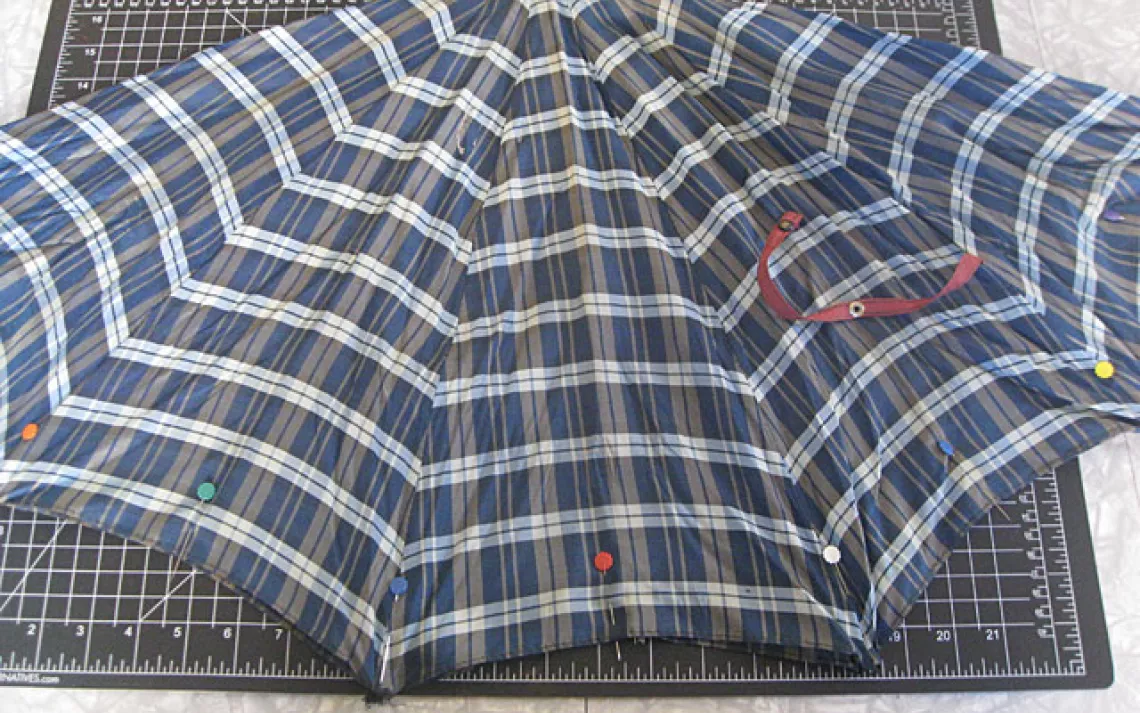
Step 4: With a yardstick or tape measure, measure out the width you want for your bag plus one inch for the seams. (In the photo below, I measured 17 inches across, so the finished bag is 16 inches wide). With the yardstick, chalk a line up the sides—use the lines on the cutting mat to help you draw straight.)
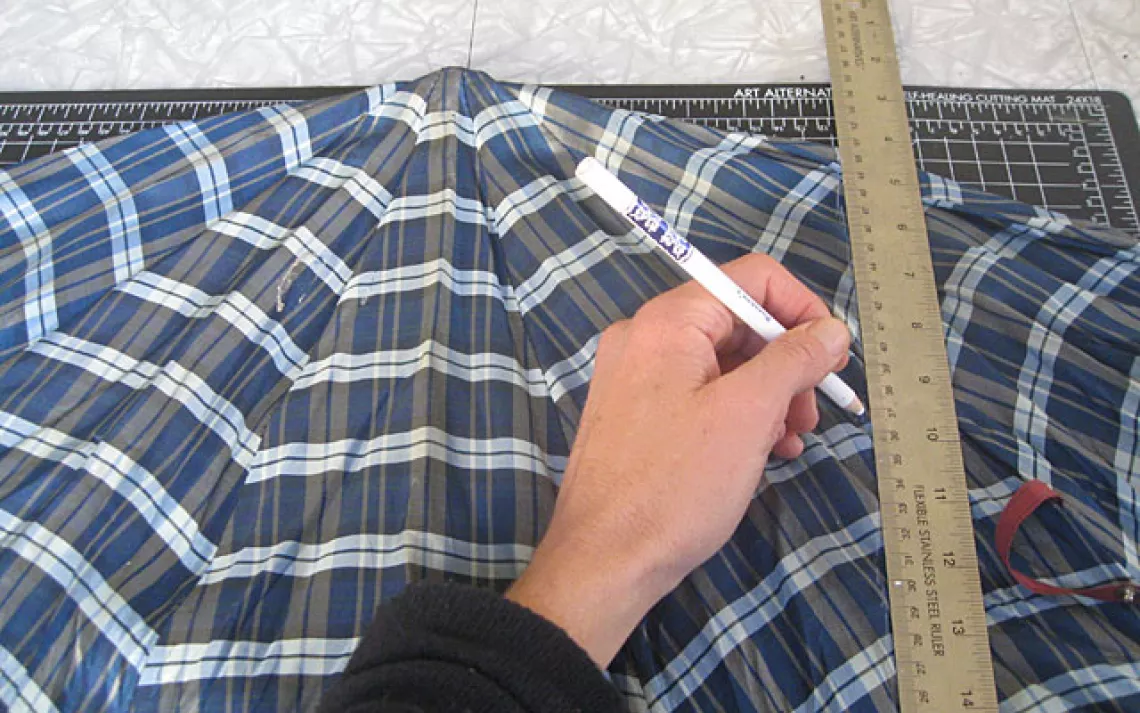
Step 5: Cut along the lines you have drawn.

Step 6: Make sure that the fabric is inside out. Then, pin the sides together and mark a line with the chalk on each side about a half inch from the edge.

Step 7: Sew a seam on each side of the bag. (Optional: Reinforce the seams by ironing the strips of fabric flat on either side of each seam; don't forget to place a bedsheet on top of the umbrella fabric before ironing.) Then sew a line to the right of the seam and another to the left up the sides of the bag. To see an example, check out Steps 5 and 6 from another Repurpose sewing project I did.
Note: It's possible to download shopping bag patterns off the Internet or to even make your own. On her blog Path to Green, Karyn Alzayer provides directions for making a pattern out of a plastic bag (hopefully, your last). Her finished bag looks great, but I found both the plastic bag and the umbrella fabric to be so slippery that it seemed easier to go rogue. Either way, it's difficult to cut and sew perfectly straight, symmetrical lines with this material, but don't sweat it. No one is going to wear it, so small inconsistencies won't stand out.
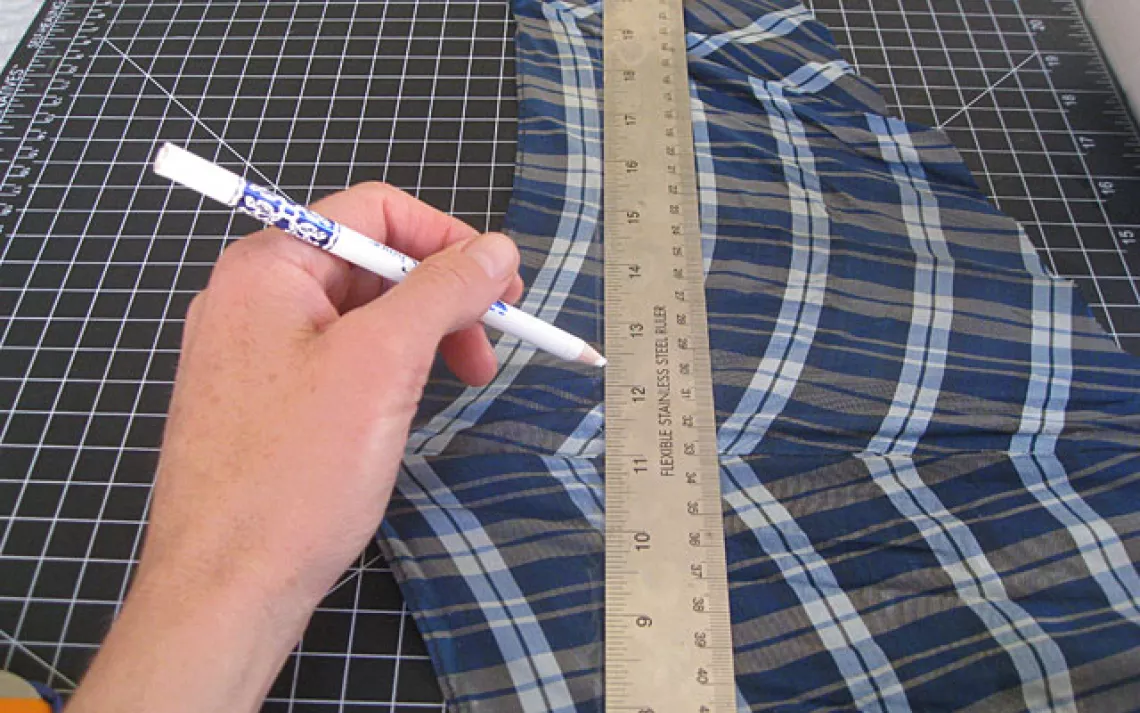
Step 8: To make the first handle, lay a piece of the excess umbrella fabric that you cut off in Step 5 on the cutting mat. Measure, chalk, and cut out a long, thin strip (about 2½ wide and 15 inches long). If you don't have enough material, make your strip smaller.
Step 9: Repeat Step 8 with the second piece of excess fabric. Your two strips should be the same size.

Step 10: Fold each strip in half lengthwise and pin (the material should be inside out).

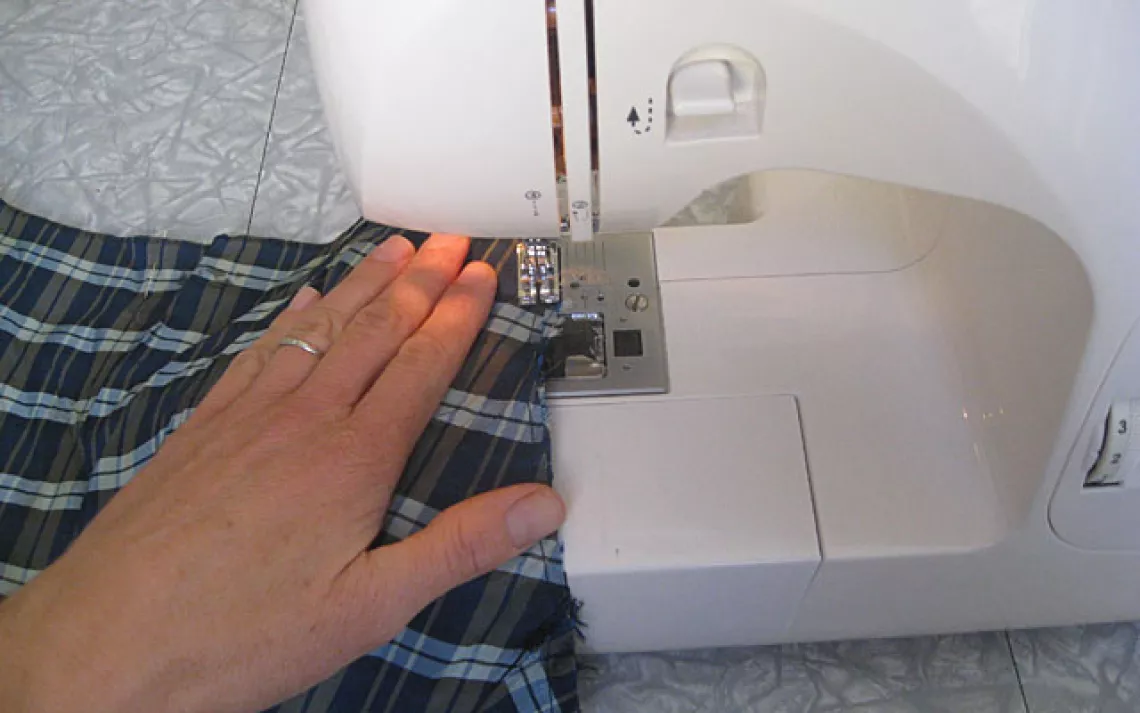
Step 11: Sew a seam on one piece and then turn right side out. Repeat with the second piece.
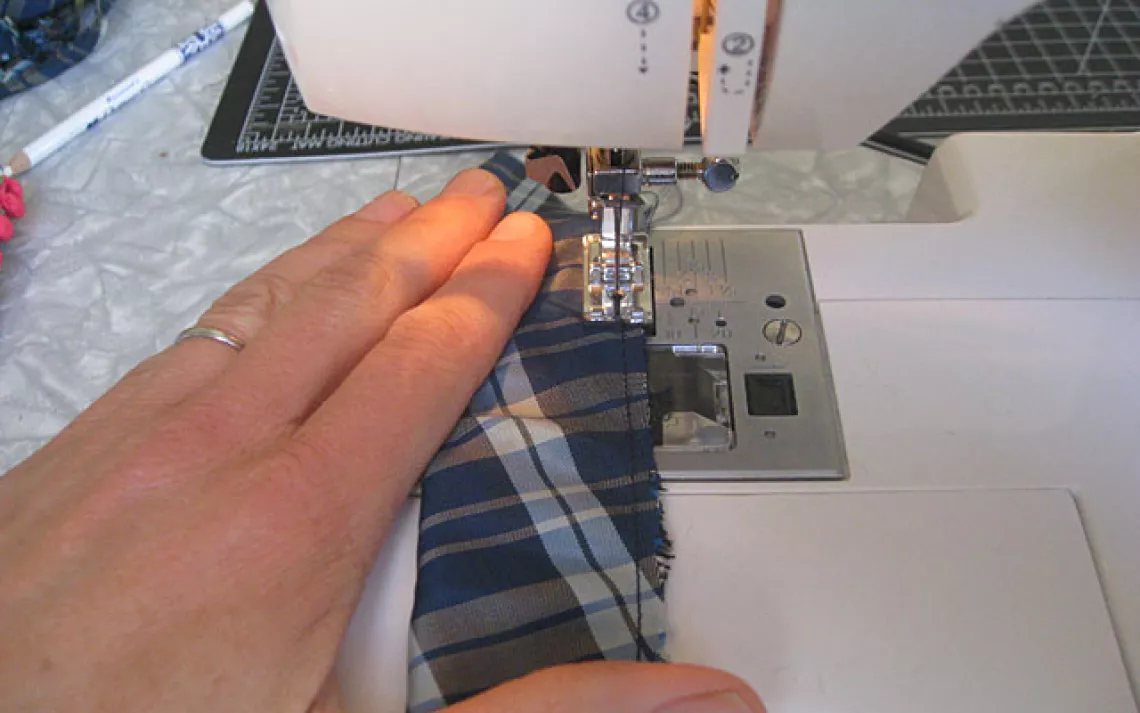
Step 12: Determine where you want to attach the first handle to the bag. (I used the natural end points of the umbrella fabric.) Tuck the edges of the fabric under and pin the ends on the inside of the bag.

Step 13: Repeat Step 12 with the second handle. Make sure the two handles are evenly spaced (the handle ends on the bag pictured here are about 8 inches apart).

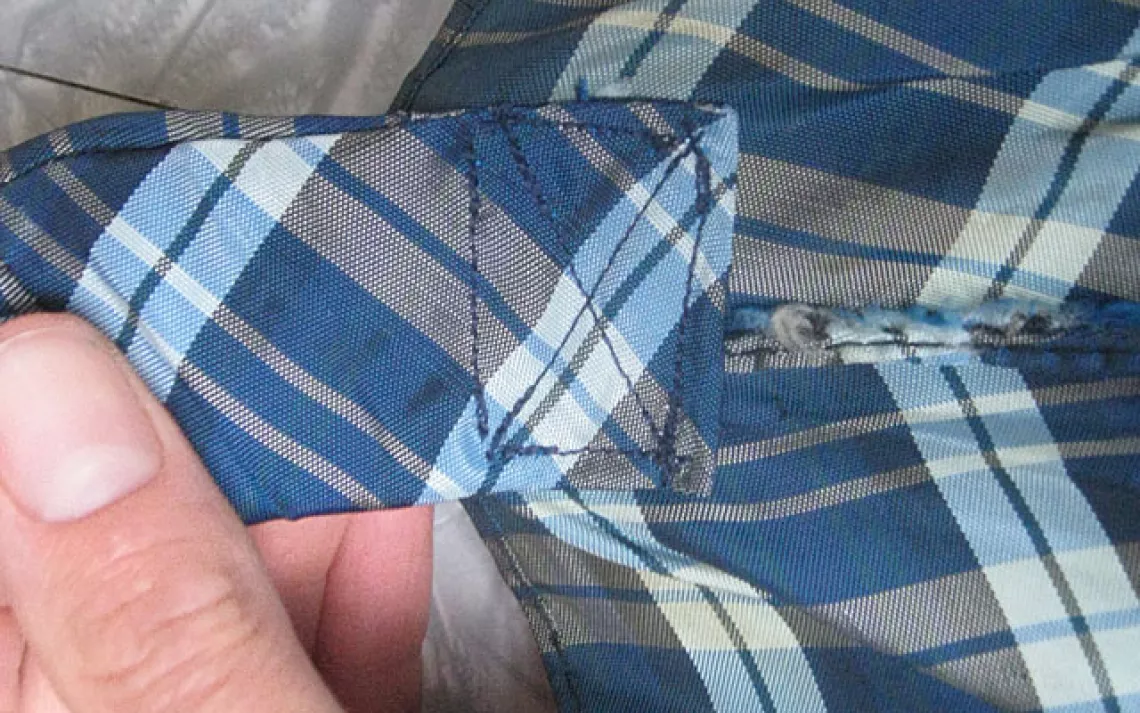
Step 14: To attach the handles, sew a square at the end of each handle and then an X inside each square.
Step 15: Now go do some shopping!

 The Magazine of The Sierra Club

