CD Napkin Holder
Add a musical touch to your table setting
 "Managing my music collection" used to mean alphabetizing all my CDs.
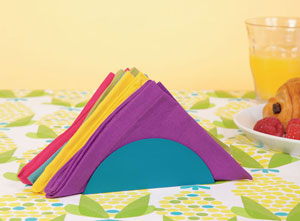
I went digital a while ago, though, and now my CDs are packed away in a stack of dusty binders. It's probably time to let go, but how exactly? Compact discs are made of materials, like aluminum and poly?carbonate, that don't belong in a landfill, so the thought of throwing them out strikes a sour note for an enviro like me. With just a little tweaking, I turned a few of mine into napkin holders to decorate my table. I cut each CD into three pieces and glued the two outer pieces on top of the middle one at 90-degree angles.
As for the rest of my collection, I'll sell or donate what I can and send the rejects to the CD Recycling Center of America. It takes discs from big donors like the U.S. Army and the Postal Service, and from individuals too. (Cofounder Bruce Bennett told me that if every American mailed in just one disc, there would be enough to fill a freight train 234 cars long.) All that recycled plastic eventually turns up in building materials and car parts. Now that's music to my ears.
DIFFICULTY LEVEL: 1 | CONSTRUCTION TIME: 20 MINUTES
The only tricky part is cutting the CD without flaking off the paint.
Based on a project by Nicholas Torretta at viraroque.blogspot.com.
 What You'll Need:
- CD
- Paper
- Ruler
- Pencil
- Cutting mat
- Utility knife
- Sandpaper
- Super Glue
- Spray paint (optional)
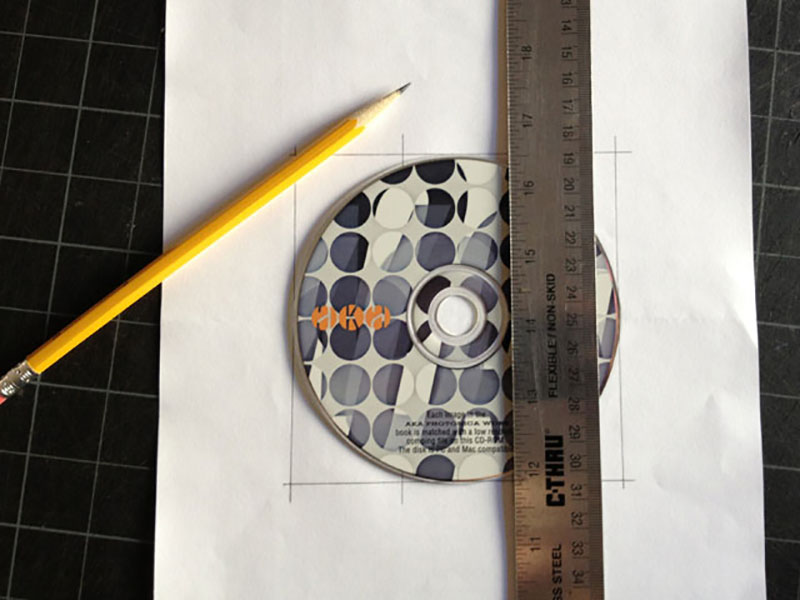
Step 1: Place the CD on the paper. With the ruler and pencil, draw a straight line on each side to form a square. It should be about 4½ inches in diameter. Draw two lines from top to bottom inside the square that are about 1½ inch apart. This will be your template for cutting the CD. Lay your CD inside the square. Line your ruler up with one of the lines on the template and draw the line on the CD. Repeat with the second line.
Step 2: Place the CD on the cutting mat. With the utility knife, cut along the two lines you have just drawn (a sharp blade will help prevent flaking).
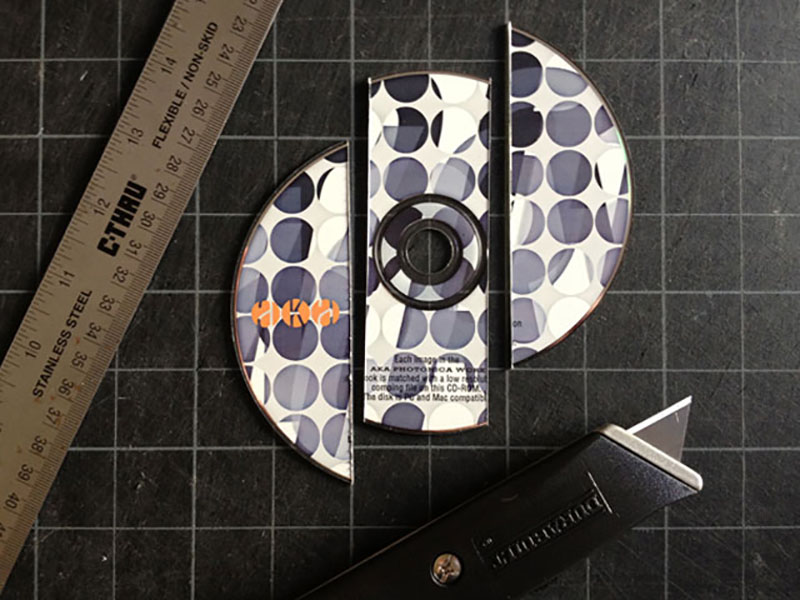
Step 3: Sand the edges of the three pieces until they are smooth.
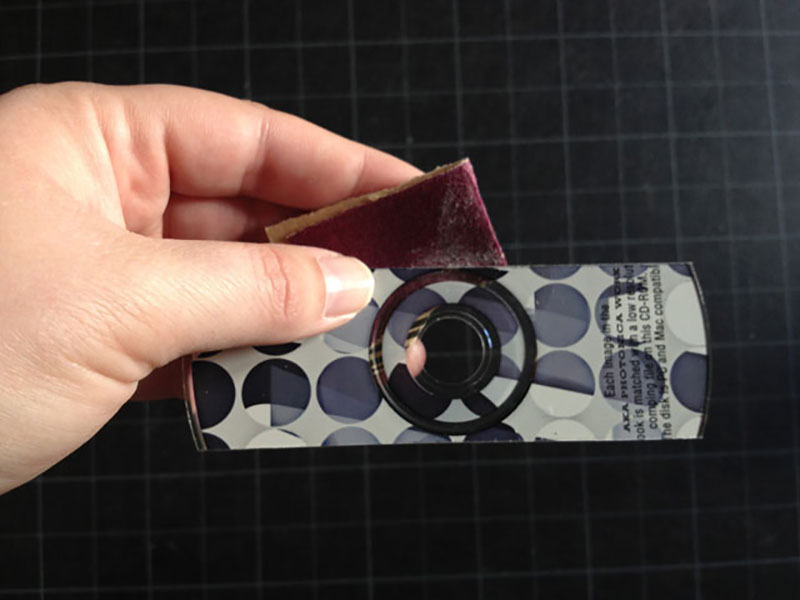
Step 4: Apply the Super Glue in a thin line on the inside edges of the two outer pieces. Press the middle piece to them and hold until the glue has bonded.

Step 5: If you like the design or pattern on your CD, it's ready to hold some napkins. If not, or if the paint flaked when you were cutting the CD, click to the next step.

Step 6: Spray paint if desired. It could take anywhere from one to three coats. You can use regular spray paint (like Krylon), or splurge for a professional spray paint (I used Montana Gold paint in the color Reef).
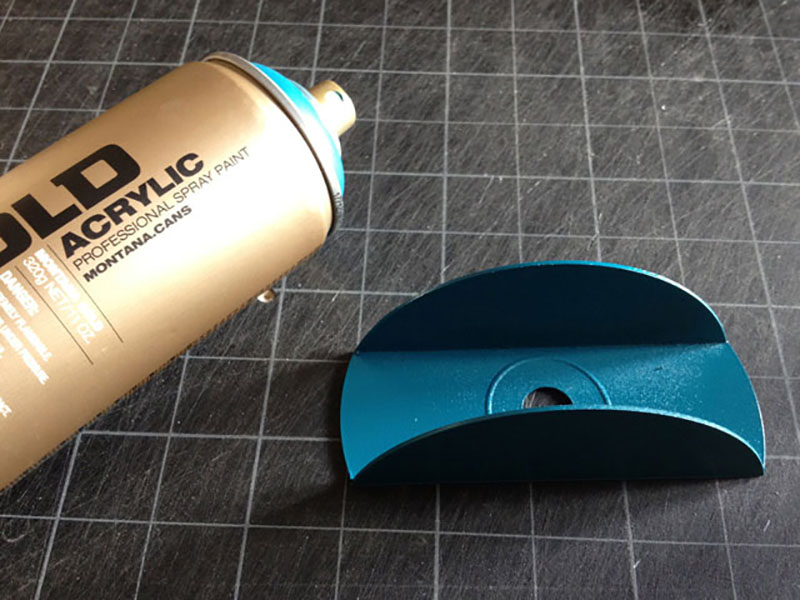
Step 7: The finished product, filled with napkins.

 The Magazine of The Sierra Club


