Keyboard Wallet
Turn a circuit sheet into a billfold
Inside every keyboard is the perfect material for a wallet: a flexible yet durable circuit sheet with intriguing metallic designs and colors.
- Construction time: 1 hour
 With the help of a screwdriver, I easily dismantled my coffee-soaked keyboard and removed its "QWERTY leather," an act of creative destruction that felt satisfying and slightly subversive. After all, we're trained to be passive consumers--to get rid of things, not reinvent them.
Using scissors and packing tape, I made a futuristic wallet that fits in my pocket and includes slots for bills and coins. Now that's change I can believe in.
As for all those leftover keyboard pieces, I glued magnets to the backs of the letters and numbers and stuck them on my fridge. Now I can spell words like "RECY<L3."
If the creative-destruction bit doesn't make you want to try this project, consider this sobering fact: Americans generated 3 million tons of e-waste in 2008, only 14 percent of which was recycled. Extending the life of your keyboard innards is a small but thought-provoking way to take a stand.
Difficulty Level: 2/10
The only real challenge is cutting and taping in a straight line.
Based on a project by Ryan McFarland on instructables.com.
What you'll need:
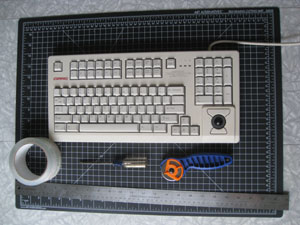
- Computer keyboard
- Small Phillips-head screwdriver
- Ruler or tape measure
- Cutting surface
- Razor knife
- Sharp scissors
- Clear packing tape
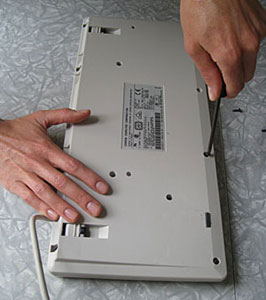
1. Unscrew the keyboard and take it apart.
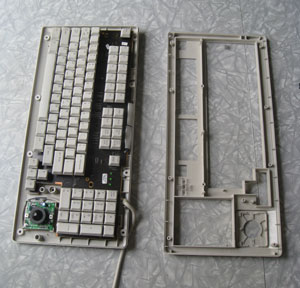
2. Inside you might find a metal sheet with more screws in it. Unscrew those and separate the pieces to access the circuit sheet that covers the circuit board (remove and save the keys; you can turn them into refrigerator magnets).
Note: Your circuit sheet may or may not have colorful designs on it. The ones with bronze and metallic patterns are more subtle but still make interesting material for a wallet
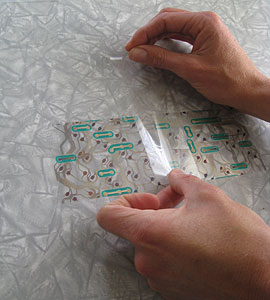
3. Measure and cut the circuit sheet into four 4-by-3-inch rectangles and two 3-inch squares.

4. Lay two of the 4-by-3 rectangles side by side, close together but not quite touching. Tape them together widthwise with a 6-inch piece of packing tape, folding the tape around the top and down the back so there is no exposed adhesive. Repeat this with the two remaining 4-by-3 inch rectangles.
5. You should now have two 8-by-3 inch rectangular pieces. Place them on top of each other and tape them together at each end, folding the tape onto the sides. Trim away any excess tape from the top and bottom.
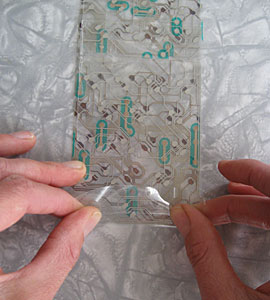
6. Fold the wallet so the two sides are almost touching and carefully lay an 8-inch strip of tape along the bottom edge, following the curve in the middle to ensure that the tape has enough give. Unfold the wallet, wrap the tape along the seam to seal the bottom, and then trim away any excess at the ends.
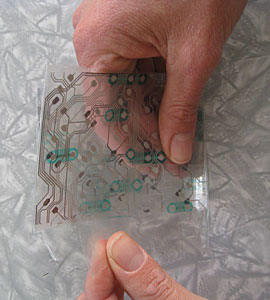
7. To attach the two 3-inch squares, open the wallet flat and lay them flush with the bottom corners. Tape their bottom, outer, and top edges to the wallet (be careful not to tape shut the wallet). Leave the inner edges as openings for credit cards, IDs, and such.

8. You can easily modify this basic version of a wallet by adding pockets of different shapes and sizes.

 The Magazine of The Sierra Club

